
This document describes the Guided Setup process for the new OzTivo regional configuration, which will be rolled out on the OzTiVo Emulator in the second half of 2004 on a state-by-state basis. This only covers the actual Guided Setup: for all other details about imaging a hard drive and getting your networking going, please see the GuidedSetup30 document.
Some frequently asked questions (FAQ) about the new regional lineup configuration are available on-line. If you have any comments or suggestions about this document, please e-mail Warren at his address above.
Due to some of the quirks with TiVo station configuration, we have had to make some Guided Setup changes to accomodate regional analog Free to Air reception. Essentially, it boils down to these rules:
Note: If you choose either ``Antenna'' or ``Satellite and Antenna'' during the Guided Setup, then things will fail. Then, if you e-mail the OzTivo mailing list for help and we find out about this, you are going to look silly. So Don't Do It!!!With the rules and the warnings out of the road, let's move on to the actual Guided Setup.
When you boot your TiVo for the first time, it will come up in Maintenance Mode. The only time you should see Maintenance Mode is when you are doing Guided Setup, or when you need to change your Infrared (IR) device settings.
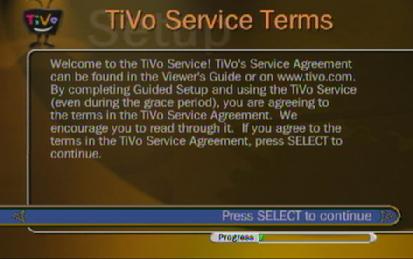
Eventually you will see the ``Welcome to TiVo'' screen. Click on Select to get past this screen and the ``Service Terms'' screen.
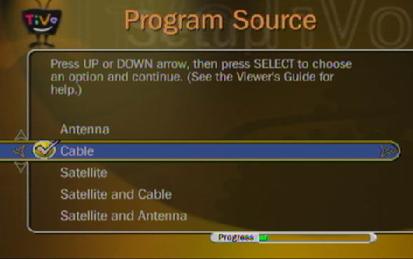
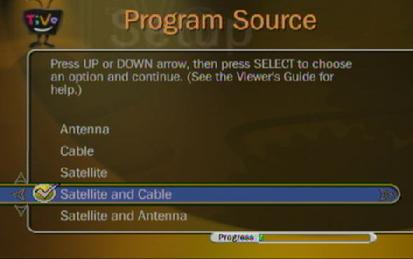
As noted before, you should choose Cable as your signal source if you have only one signal source, or Satellite and Cable if you have two input sources. Remember: if you have a PAL tuner, then it will be treated as Cable.
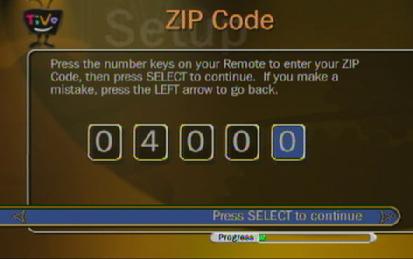

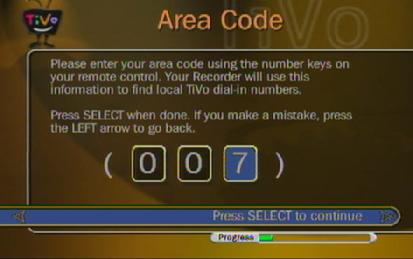
The Zip Code determines what Free to Air, Cable, Digital and Satellite lineups you can receive. These are all done on a state basis, so choose the Zip Code and Area Code from the following table:
| State | Zip Code | Area Code |
| ACT | 02600 | 002 |
| NSW | 02000 | 002 |
| Vic | 03000 | 003 |
| Qld | 04000 | 007 |
| SA | 05000 | 008 |
| WA | 06000 | 008 |
| Tas | 07000 | 003 |
| NT | 00800 | 008 |
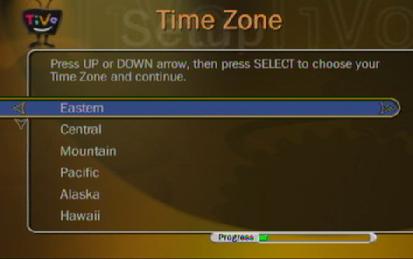
The value for the TimeZone is irrelevant, so choose Eastern as your TimeZone. However, be sure to set Daylight Saving to ``No''.

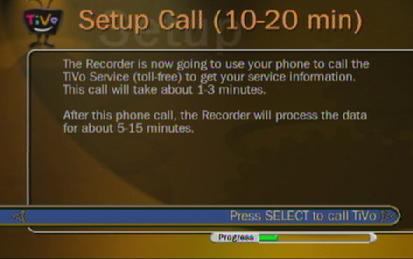
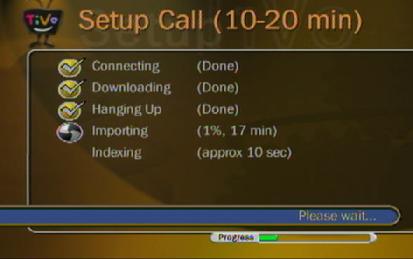
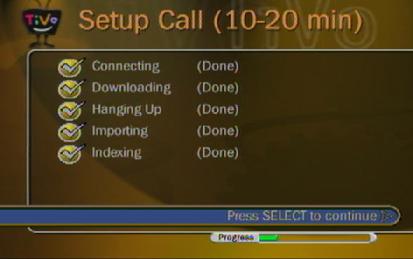
At this point, your TiVo needs to ``phone home'' to the OzTiVo emulator to find out what Free to Air, Cable, Digital and Satellite lineups exist for your state. Your network should already be configured, so you can continue past the Phone Dialling Options and perform the Setup Call. It will typically take 20 minutes to import the data from the Emulator, so now is a good time to have a cup of coffee.
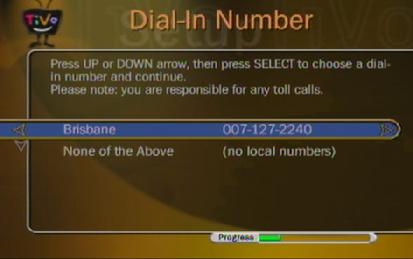
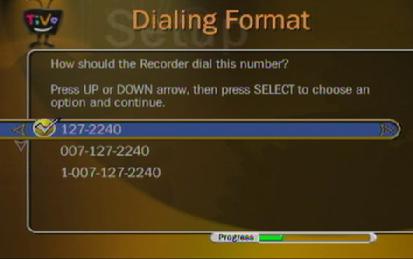
At this point you are given the opportunity to change your dial-in number. Again, your network should already be configured, so you can continue past this part of the Guided Setup.
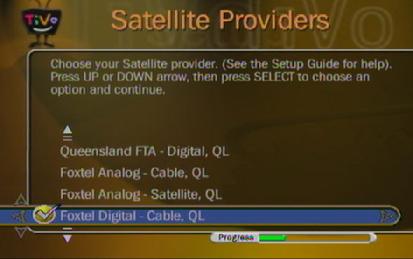
If you have two input sources and you chose Satellite and Cable as your program sources, then you will be shown a screen asking you to choose a ``satellite provider''. Remember:
The description of the providers will be as follows: the ending is 2 letters describing the state: AC, NS, VI, QL, SA, WA, TA or NT. The middle section describes the OzTiVo source type: Antenna (i.e. Analog free to air TV), Cable, Satellite or Digital (Digital means Digital free to air TV). The beginning describes the provider, and will be one of:
If you have a FTA tuner (i.e an Antenna connection), but you also want to be able to record from your TiVo's composite video or S-video input, then you should do a 2-source (i.e. Satellite and Cable) Guided Setup. When you choose your second (i.e. Satellite) input, choose the one labelled ``AV Input''. You will later be able to select a Channel 0 satellite channel which is your A/V channel.
If you are setting up a VCR, you are going to have to choose a lineup that allows you to receive FTA stations. You have two options. You can choose your region's Analog FTA (Antenna) lineup: this will give you channel numbers ranging from 2 to 70. Or you can choose your state's Digital FTA lineup: this will give you channel numbers ranging from 1 to 10. Regardless, you will need to set your VCR up so that it matches the channel numbering on the TiVo.
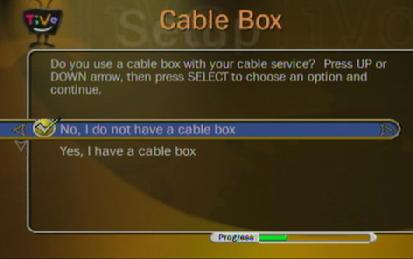
Now you get to choose your first input source. If this source is your Antenna, then you must choose ``no cable box'', so that your input comes from the tuner module. If this source will be an external box connected to the Tivo by S/Video or by Composite video, then you must choose ``yes, I have a cable box''.
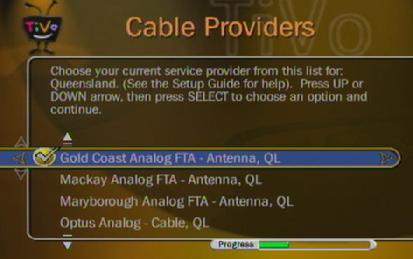
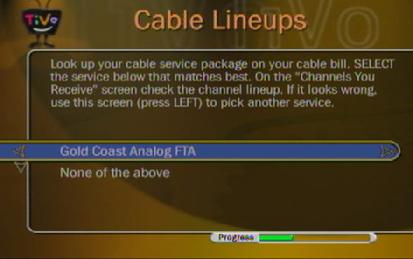
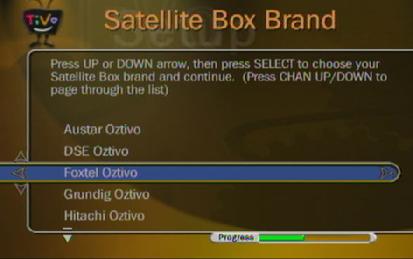
Now you will see a list of providers for your first source of input. The list will include all Cable and Satellite providers for your state, as well as Digital Free to Air for your state, and Analog Free to Air lineups for the various regions within the state. Choose the provider that you want. There should be only one option on the second screen, so choose it and move on.
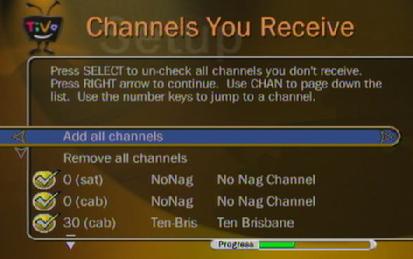
You now are given a list of channels that you might be able to receive. If you know which ones you do not receive, then follow the instructions and deselect them. If you are not sure, simple select Add all Channels now. Regardless of what you choose here, you can modify this list later.
Note that the list will also show you the source of the channel: (cab) is your first input source and (sat) is the second input source.

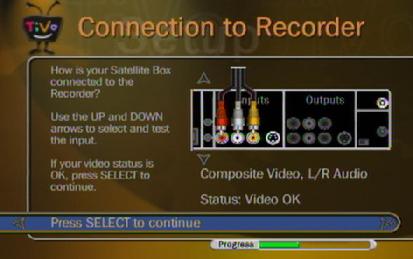
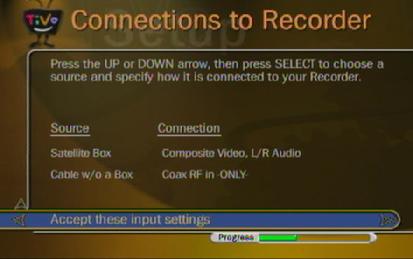
At this point, if you have an external video source, then you must choose how it is connected to your TiVo. If you only have one input source, then use the right arrow on ``Cable box'' to choose the connection: S/Video or Composite Video. If you have two input sources, then use the right arrow on ``Satellite box'' and do the same thing.
It is important that you see Status: Video OK on the second screen, as later on the Guided Setup will fail if there is no video input from your external video source. Also note that if your first video source is your Antenna, then this is represented as Cable w/o a Box.
When you have your input connection(s) set correctly, go down to Accept these input settings and move to the next screen.
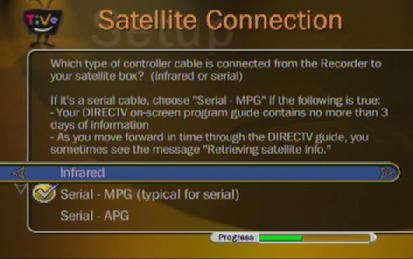
If you have an external device which is providing video to the TiVo (a Cable box, a Digital STB, a Satellite box or a VCR), then you will now be presented with menus to configure how the TiVo sends infrared commands to this device.
If the device is your first source of input, then you will see a Cable Connection screen. If the device is your second source of input, then you will see a Satellite Connection screen.
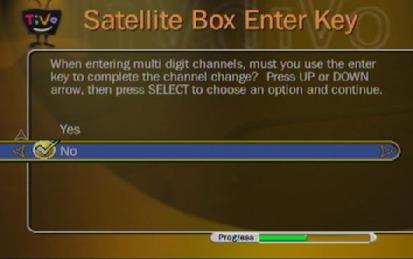
Choose Infrared on the first screen, then choose the manufacturer of your device on the second screen. Make sure that you choose an OzTiVo manufacturer. On the third screen, follow the instructions to configure the Enter key; the usual answer here is No.
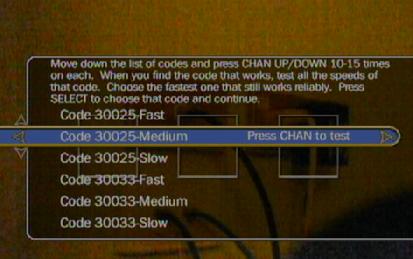
At this point you will be presented with a screen listing a number of specific device codes. Each code represents a certain device, and you can choose if the TiVo sends the IR commands at fast, medium or slow speed. Unfortunately, the name of each device is not shown. You can look up the device you want in the OzTiVo IR Database to find the code for your device. Note that there are several different versions for some devices, so you should try each one until you get a successful result.
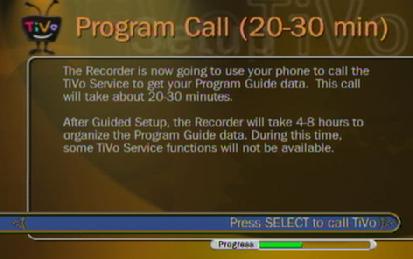
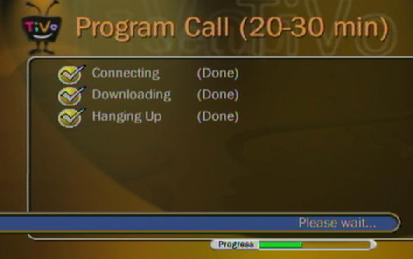
Once you have configured the IR settings for your external device, the TiVo needs to perform a second ``phone home'' to download any TV guide data that is available. This should only take a few minutes.
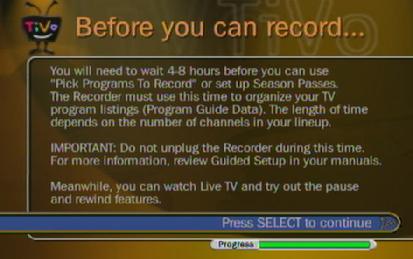
The last few steps of the Guided Setup are shown above. When its says it will take 4 to 8 hours before the TV guide becomes available, they mean it! You need to leave your TiVo on during this period for the indexing to complete.
Unfortunately, the TiVo is still in Maintenance Mode at this point, and one of the problems with this mode is that video playback is very jerky: in fact, we often call this ``Jitter Mode'' instead of Maintenance Mode. You have to put up with this until the indexing is complete; then you can reboot the TiVo to get it out of Maintenance Mode. While in Maintenance Mode, your TiVo may also display the wrong on-screen time.
For those with some Linux skills, you can tell when the TiVo has completed guide indexing by looking in /var/log/tvlog for text along the lines of:
Mar 3 08:05:38 (none) DbGc?[127]: Sweep done (eSucceeded) - rescheduling marking in 61200 sec
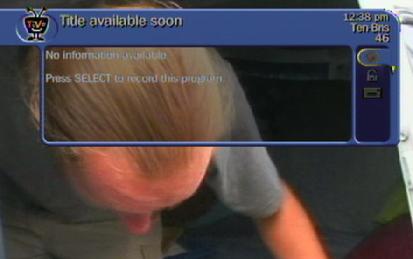
If during the channel selection you chose to add all the channels (or if you want to modify the channels you receive), then the first thing you should do is go into Watch Live TV and see what channels you do receive. The screenshot above shows you what you will see when you use the Chan Up or Chan Down buttons when watching live TV. Note that the top-right corner of the on-screen display shows the channel name and number.
Go through all the channels and find out which ones you can receive and which ones you can't. Don't be too hasty; give the TiVo 3 to 5 seconds on each channel before you decide you cannot receive it. Write down a list of the channels you can receive.
Once you have determined the list of available channels, follow this menu path to get to the next setup screen: TiVo Central -> Messages and Setup -> My Preferences -> Customize Channels -> Channels You Receive
Follow the instructions to keep the channels you receive and to remove the ones that you don't receive. Make sure that you leave the NoNag channel in, as this is needed to stop your TiVo from nagging you about missing TV guide data.

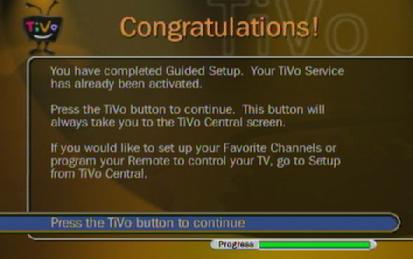
Once the guide data has been indexed, you can finally reboot your
TiVo to leave Maintenance Mode. You should see the above startup screen
if the reboot is successful. If you see the Maintenance Mode startup
screen, don't panic. Just let the TiVo finish rebooting, turn it off,
and try again. It can sometimes take 4 or 5 reboots before the TiVo
finally leaves Maintence Mode. You now have a working TiVo to enjoy!